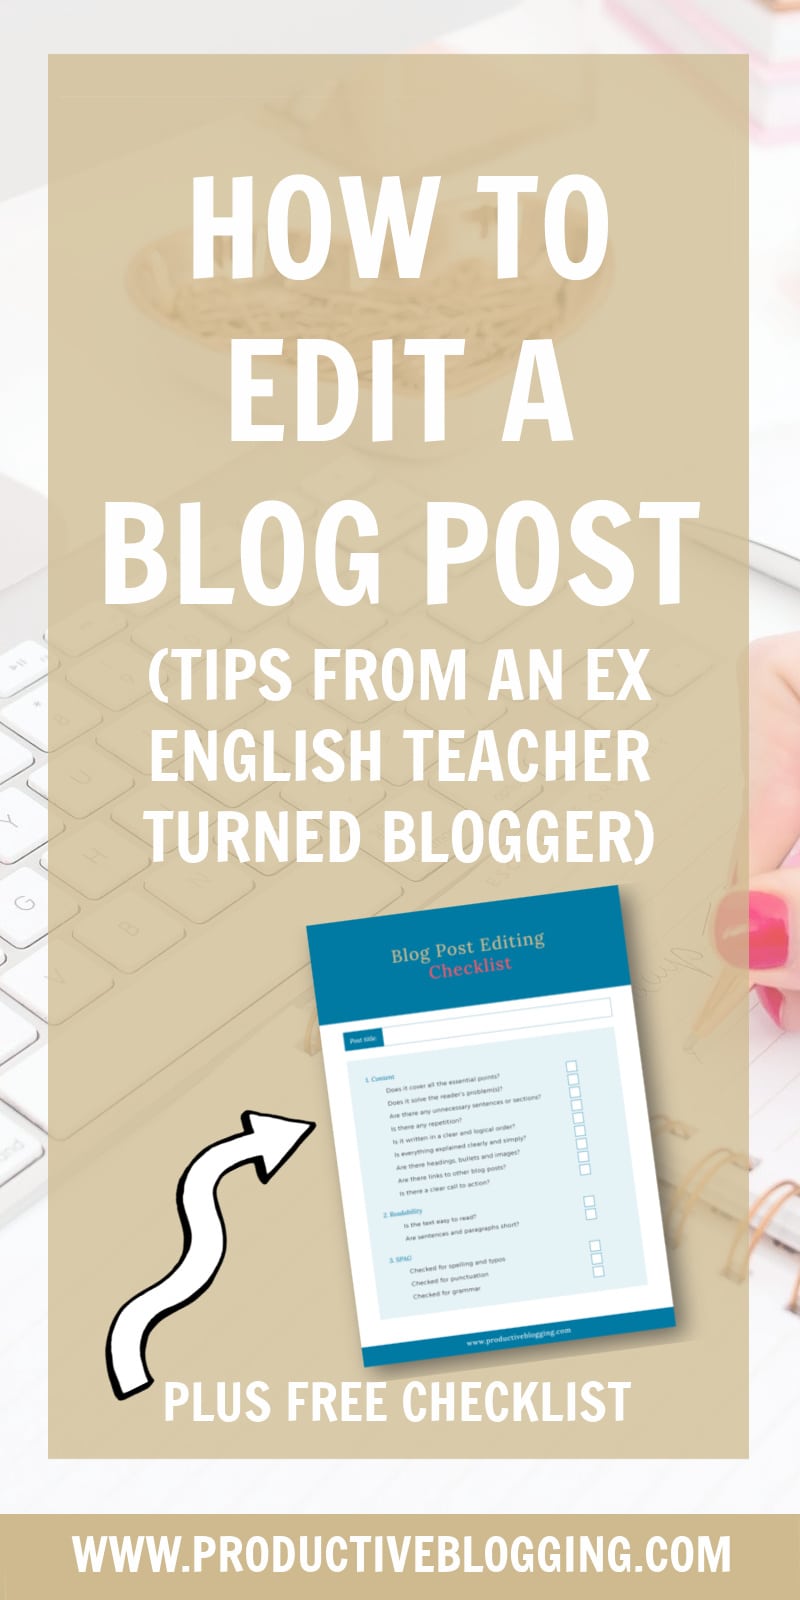
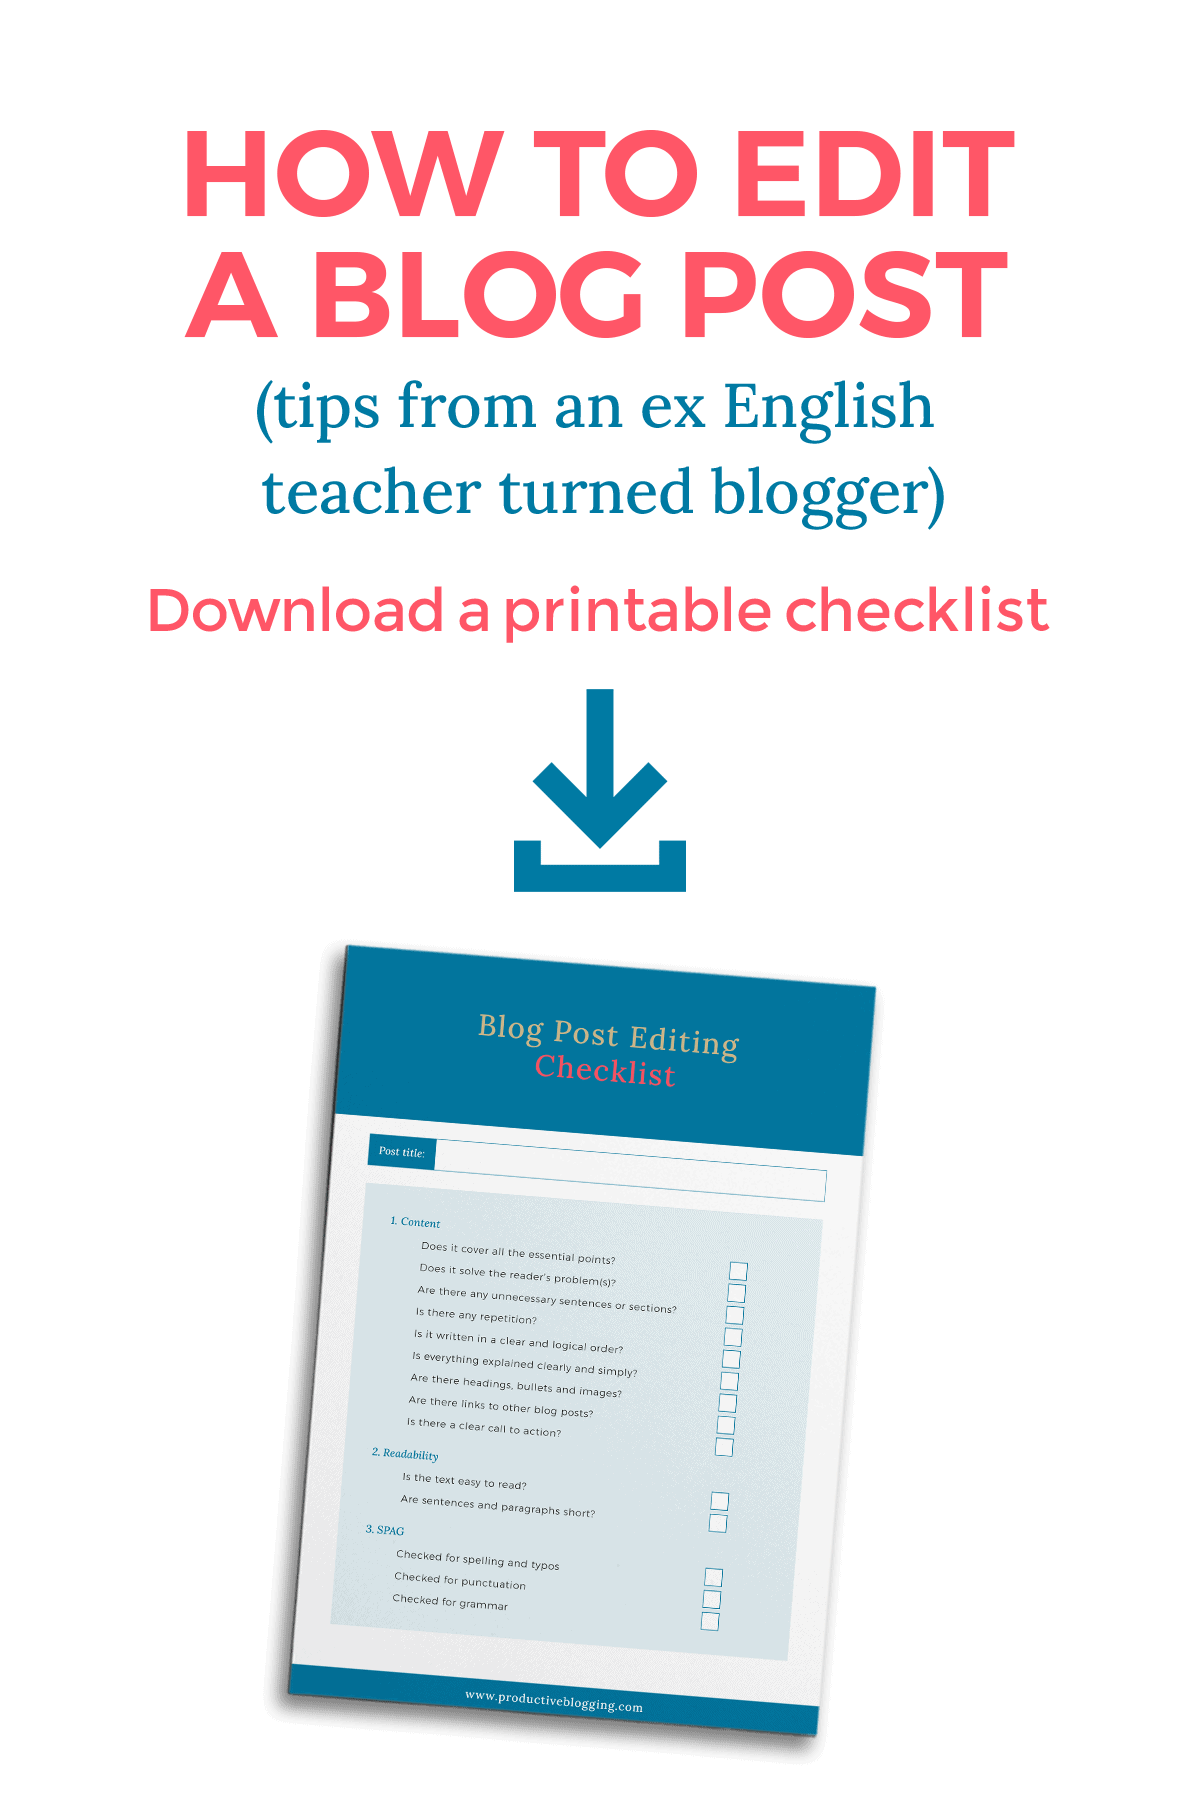
How to edit a blog post (tips from an ex English teacher turned blogger) PLUS CHECKLIST
I may get paid commission for purchases made after clicking a link in this post.
One of the most important (but frequently overlooked) parts of writing a blog post is editing it thoroughly after you have written it. Find out how to edit a blog post properly and snag yourself a free printable checklist to help you do it…

Editing is a hugely important part of writing anything you intend for other people to read – whether that’s a book, a magazine, a newspaper… or indeed a blog post!
But editing is often something that gets overlooked… or falls off the to do list. There are so many blogging jobs to do, why spend time reworking a blog post that’s already written?
Well, I’ll tell you… the quality of your blog posts is becoming more and more important. In fact, quality is much more important than quantity these days.
Why?
Because that’s what search engines want to show their users. Search engines want the results they show to their users to be the very best answer to their search query. And one of the ways you can ensure your result is the best result is by editing your blog posts thoroughly. The best result is NEVER going to be a blog post that is littered with spelling mistakes, punctuation errors and typos!

My background and experience has taught me a lot about editing. I used to be an English teacher – teaching English as a foreign language. One of my specialities was teaching higher level students how to write and edit essays for advanced English exams like IELTS, FCE and CAE.
Before that, I worked in several marketing roles in the retail sector, all of which involved writing and editing copy for store signage, leaflets, in store magazines and catalogues. All of which had to be perfect!
In this post, I show you how I have transferred this knowledge and experience to writing for my two blogs and show you how to edit a blog post properly. I’ve also created a helpful checklist which you can download and print off to keep beside you when you are editing your future blog posts.
How to edit a blog post: step by step
Editing a blog post is so much more than giving it a quick glance over and then hitting publish! I consider editing a 3-step process…
Give it some time
However, before you even start the editing process, I recommend trying to put a decent amount of time between writing your first draft and editing your blog post. Ideally a day or two. If you can’t wait that long, at least leave it an hour or two, while you do some other task. You will be amazed at how differently your blog post reads when you come back to it a few hours or days later.
Step 1: Content
The first step in editing a blog post is to look at the content of the blog post. Here you should be looking at what your blog post covers and asking yourself…
- ‘Have I have covered everything my reader needs to know on this topic?’
- ‘Does this blog post truly solve my readers problems on this topic?’
- ‘Have I waffled or included any information that is off-topic or more than my reader needs?’
- ‘Have I repeated myself or written virtually the same thing twice?’
- ‘Is everything written in a clear and logical order?’
- ‘Have I explained everything clearly and simply?’
- ‘Have I used headings, bullets, numbers and images to break up the text and make it easier to understand?’
- ‘Have I included links to other blog posts where my readers can get more information on this topic – for example a cornerstone article?’
- ‘Have I included a call to action?’ (E.G. a pin to pin, a sign-up box for your opt-in offer, a ‘further reading’ section with links to similar articles etc.)
Be really ruthless with your first edit. This is your opportunity to turn an OK blog post into a really good one – one that your readers will love… and, even better, one that search engines will love too!

Step 2: Readability
This is your chance to check how readable the text is. Is it easy to read? Does it flow nicely? Does it have a nice rhythm?
This is also your opportunity to check your sentence and paragraph length. Remember both your readers AND search engines prefer short sentences and short paragraphs.
This is especially true as now the majority of your readers are likely to be reading your blog post on their mobile phone… What looks like a reasonable length paragraph on a desktop computer may look like an impenetrable wall of text on your reader’s mobile phone!
The hands down BEST way to check your text’s readability is by reading it out loud. As you read your text out loud you will soon see where it is awkward or clunky, where bits just don’t sound right or don’t flow well. It will also highlight very long sentences!
(And, as a bonus, you are also likely to spot typos such as ‘of’ where it should be ‘off’ and ‘want’ where it should be ‘won’t’. When we read in our heads, we have a tendency to read what we expect to be there, but when we read out loud, we read what is actually there!)
It might seem a bit strange or awkward reading your text out loud, but honestly it will make your blog post so much better and your readers will really thank you for it!
Step 3: SPAG
The final check is for SPAG – that’s spelling, punctuation and grammar. This is your chance to check your blog post one last time and make sure there are no spelling mistakes, typos, punctuation mistakes or grammar errors.
You can certainly use a spellchecker to help you with this, either the one built into Word, an app such as Grammarly, or a plugin such as Jetpack or Yoast to help you with this.
However, don’t rely entirely on electronic spellcheckers – they won’t pick up everything. For example, they won’t pick up words which you have misspelled, but which are the correct spelling for a different word – like ‘to’ instead of ‘too’, ‘their’ instead of ‘there’ and so on.
I also find that many grammar checkers are just plain wrong. (And this is coming from someone who spent years teaching English grammar!)
Make sure you also read the text thoroughly to ensure that you have checked all the spelling, punctuation and grammar to the best of your ability.
And finally, remember blog writing is generally fairly informal – more of a conversation between you and your reader than a school essay! That means some conventional grammar rules can – and should – be broken.
A good example of this is that, in blog writing, it’s absolutely fine to start sentences with ‘and’ and ‘but’, whereas you probably learnt that this was a total no-no at school! You also might decide to use full stops for emphasis – like this: ‘End. Of. Story.’. And you may even find yourself missing words out of sentences, as this makes your blog post sound more conversational and chatty.
Breaking ‘grammar rules’ in blog post writing is totally fine so long as you are doing it to make your blog post easier to read and more enjoyable to your readers!

How to edit a blog post: an extra trick
One little trick I have, which really helps with editing a blog post, is to first write my post in Word (making use of the Word spelling and grammar check while I am at it) and then copy and paste it into WordPress. This moves the text around and means that often mistakes I didn’t spot on my first readthrough magically appear, as they are now in a different place on the page!
How to edit a blog post: go one better
Of course, the best way to really get your blog post in tip top condition would be to get someone else (ideally someone who is similar to your ideal reader) to read it and tell you what they think is missing / doesn’t work / needs adding and what spelling, punctuation and grammar mistakes they notice. Four eyes are always better than two for editing!
If you do have someone in your life that would do this well and is happy to do this for you, take advantage of it! For example, your other half, a sibling, a friend etc.
If you don’t, why not team up with a fellow blogger in your niche and do an editing swap? You can read over their blog post and, in exchange, they can read over one of yours. If you want to find a fellow blogger who would happily do a proof-reading exchange with you, you could pop into my Productive Blogging Community Facebook page and ask for a proof-reading buddy!

How to edit a blog post: don’t stress too mucH!
Finally, it is important to say that you shouldn’t take this editing step too far. Don’t stress and worry so much over editing your blog post and trying to get it perfect to such an extent that it means you never publish anything, or it takes you three months to write one blog post!
Work through these steps carefully and to the best of your ability and then just hit publish. Remember, the beauty of blogging is that you can always go back and fix mistakes later if you need to – or even add or delete whole sections.
Never let editing stop you from regularly creating and publishing great content!
FREE BLOG POST EDITING CHECKLIST
- How to write the perfect blog post for readers AND search engines
- The 10 essential elements of a successful blog post
- How to write the perfect ‘About Me’ page for your blog
- 17 ways to overcome writer’s block for bloggers
- How to write LONGER blog posts (that your readers actually want to read!)
Don’t miss a thing!
Follow me on Twitter, Facebook and Instagram. Or why not subscribe to Productive Blogging and get blogging and productivity tips straight to your inbox every week?
Pin this post to read later


Ah yes, great tips with perfect timing thanks! I’ll shortly be proofreading 120 odd posts and a whole bunch of pages – can’t wait! I find it easier to see mistakes reading on my phone so I intend to sit with my phone in front of my desktop and make any changes on the main screen. Hopefully it won’t take me too long!
Haha – my eerie perfect timing strikes again! Great tip about using your phone – especially given that it is likely more than half your readers will be reading your content on their phones. 120 posts??? Wow – that’s a lot of content to proof read – good luck with it! Eb x
Great points. I love the tip of giving it a rest.
Thanks! It’s such a good trick isn’t it… after a break we so often come back to a blog post with fresh eyes and a fresh perspective. Eb 🙂